How to Send a Ballot Announcement
Follow these simple steps to send out a ballot announcement via Ballot Bliss.

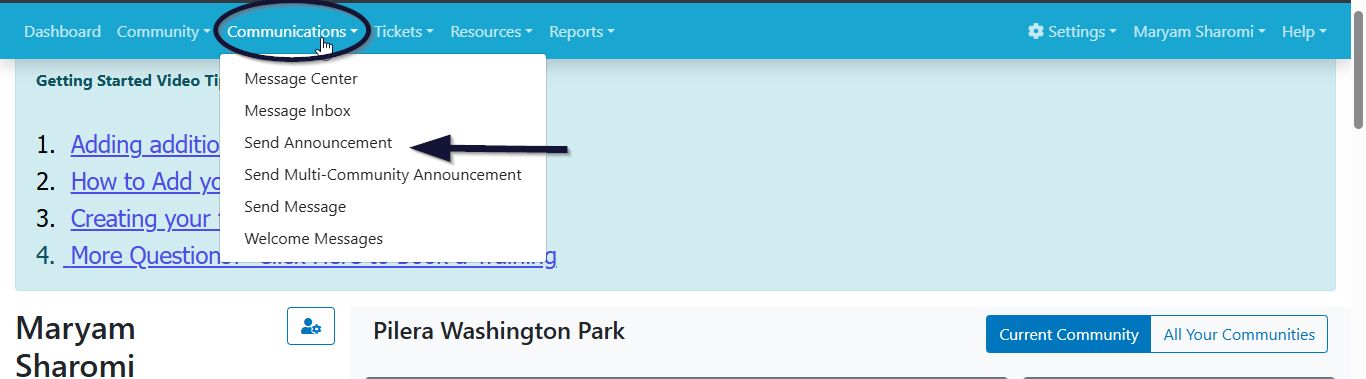
1. Navigate to Communications:
 2. Choose Message Type:
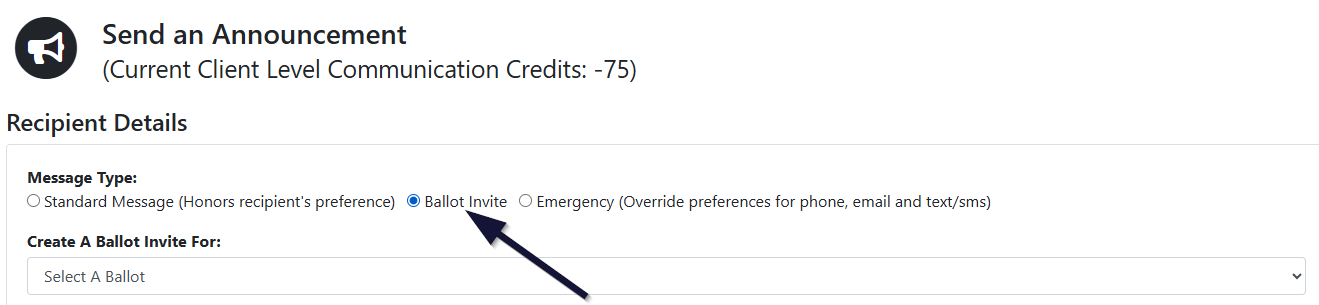
On the Send Announcement page, under Message Type, select “Ballot Invite.
 3. Select a Ballot
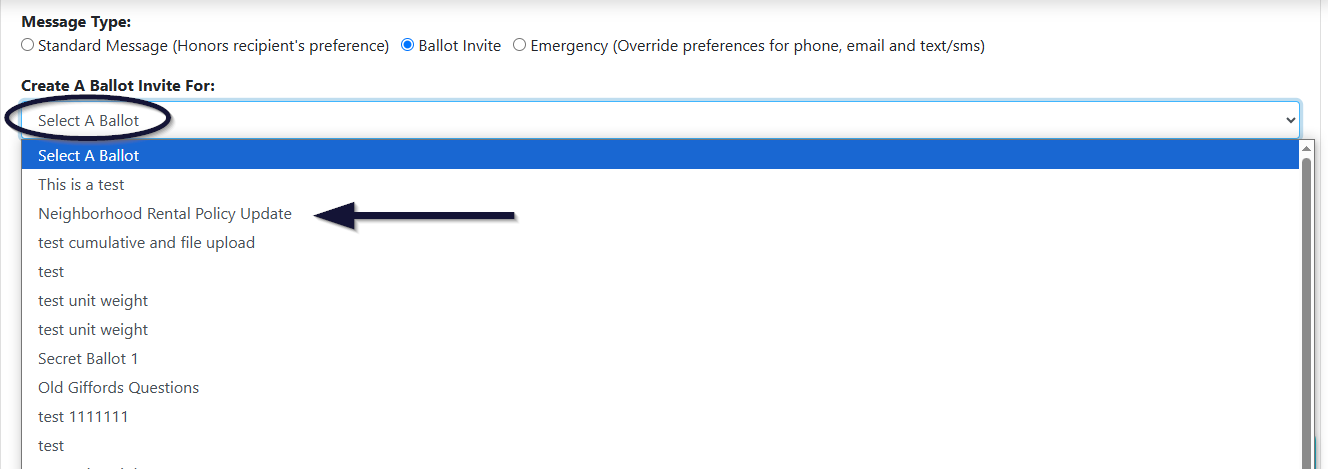
Click “Select a Ballot” to view and choose from your previously created ballots.
If you do not see the ballot in the drop down it is most likely due to the ballot not being active. To learn how to activate your ballot click here.
 4. Define Your Audience
In the Send To section, choose your recipients:
1. All of Community: Sends the ballot to everyone in your community.
2. Specific Location: Limits the announcement to a designated location within your community. When you select this option, a dropdown is revealed to enable you select the specific location you want in your community.

3. Distribution Groups: You can choose which locations the ballot notification should be sent to. You can select multiple groups here.
4. Eligible Voters That Have Not Voted Yet: Sends reminders to those who haven’t participated yet; ideal for boosting voter turnout.
 The Include section
 5. Compose Your Message:
In the Message Content section, you can:
Select a Template: Choose a pre-designed announcement template.
Send Using: Pick a delivery method: email, or physical mail. (Recipients must have opted in to receive communication via your selected method.)
Subject: Enter a custom subject line for the email.
Email Message: Write your message body. Personalized link and access codes will automatically be added bellow the email message. Use “Send Yourself a Test Mail” to preview.
6. Sending Preferences:
Now: Send the announcement immediately.
Scheduled Time: this option is disabled for Ballot Announcements, but can work with regular announcements if you have that feature enabled.
Show a Preview of Recipients: Preview recipients before sending. The final button will say “Preview and Send.” When you click on Preview and Send as an admin, you’ll see more options such as who will and will not receive an announcement, the occupant type of the recipients, etc.
3. Send Without a Preview: Sends the announcement directly. Click “Send.”
4. Save Draft: Not ready yet? Save your announcement to finish later. Note that Drafts are saved in the your browser and will automatically populate the page when next you visit the send announcement page. If you try it in a different browser later it would not be there.
7. Save Your Message as a Template
Related Articles
How to Delete a Homeowner’s Vote and Resend Their Ballot Invite
If a homeowner needs to change their vote after submitting it, managers can delete the original vote and send a new ballot invite. This allows the homeowner to vote again using a fresh access link. Step 1: Delete the Homeowner’s Vote Go to the Ballot ...How to Export Ballot Results
In this article, you’ll learn how to export your ballot results efficiently and in your preferred format. On the Ballot Result page, click “Table” to display your results in a tabular format. 2. Navigate to Export Options: Click “Reports”, then use ...Ballot Settings
Before you can begin building your ballot form, you must first configure your Ballot Settings. This essential step allows you to define the rules, permissions, and visibility settings for your ballot. This guide walks you through each setting, ...Ballot Results
The Ballot Results page provides a secure and transparent space to view, share, and manage the outcome of your election or poll. It includes visual and tabular result formats, controlled access, and a full activity history to support integrity at ...Ballot List Page
The Ballot List page provides a centralized location to view all your created ballots. From here, you can manage settings, make edits, monitor participation, and access ballot results. 1. Selecting a Community Use the Community dropdown at the top of ...